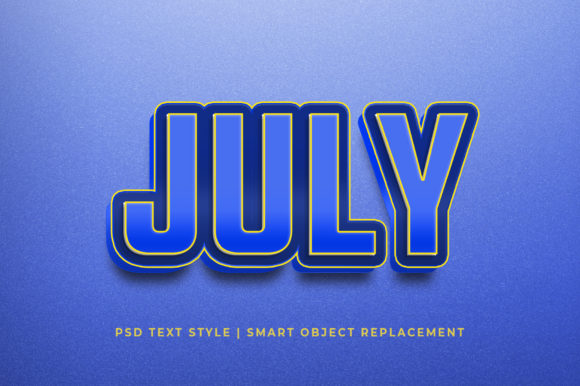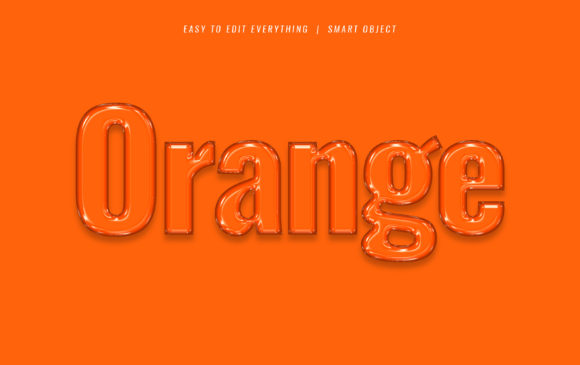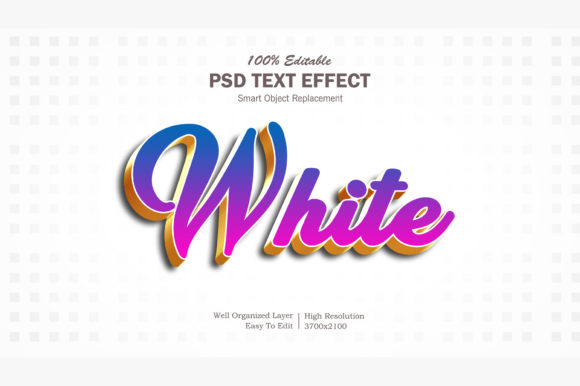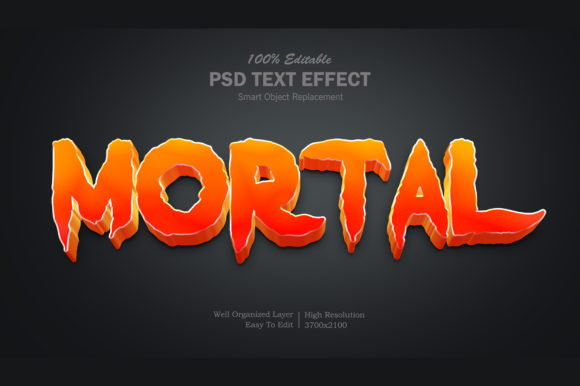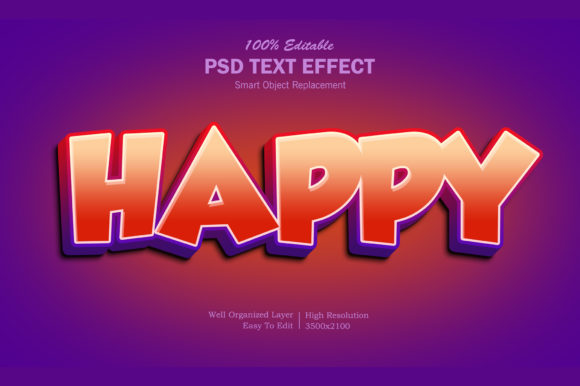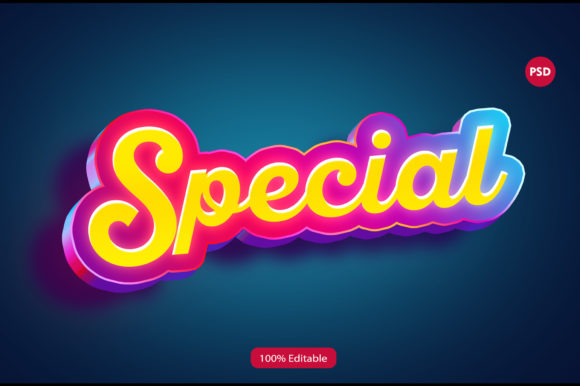
3D Special Text Effect PSD: A Practical Guide to High-Quality Typography
In the world of digital design, typography is rarely just about choosing a font. It is about creating an experience, a mood, and a visual hierarchy that grabs attention immediately. Whether you are designing a movie poster, a YouTube thumbnail, or a corporate logo, text needs to stand out. This is where a 3D Special Text Effect PSD becomes an invaluable asset in your workflow. However, simply downloading a file does not guarantee professional results. Many creators overlook the nuances of smart objects, layer organization, and resolution standards, leading to pixelated exports or frustrated editing sessions.
This resource is designed to give you a quick, easy possibility to apply a high-quality effect style to your text without starting from scratch. But to get the most out of it, you need to understand how to use it correctly. Below, we break down what this graphic resource actually offers, common pitfalls to avoid, and how to integrate it into your projects for maximum impact.
Understanding the Workflow: Smart Objects Explained
The core feature of any high-end Photoshop template is the use of Smart Objects. If you are new to Photoshop, this might sound technical, but it is actually the secret to non-destructive editing. When you open the provided file, you will see layers labeled "Your Text" or similar indicators. To edit the file, you do not simply click on the text layer and start typing like you would in a Word document.
Instead, you must double-click the thumbnail of the smart object. This opens a new window containing only that specific element. Here, you replace the placeholder text with yours. Once you have made your changes, you save the file (usually by pressing Ctrl+S or Cmd+S). The main file then updates automatically, applying your new text to the 3D effect, shadows, and lighting exactly as the designer intended. This process ensures that if you decide to change the wording later, you don’t have to rebuild the entire 3D structure. You just swap the text, save, and the effect adjusts instantly.
Why Beginners Often Struggle Here
A common mistake is attempting to rasterize the smart object or delete the original layer before placing your own text. Doing so breaks the link between the template’s effects and your content. Another frequent error is ignoring the "Read Me.txt" help file included in the download. These files often contain specific instructions on font sizes, character spacing, or layer blending modes that are crucial for maintaining the integrity of the 3D look. Skipping these details can result in text that looks clipped, distorted, or poorly integrated with the background.
Versatility Across Multiple Platforms
One of the biggest advantages of using a pre-made 3D text effect is its adaptability. You are not limited to just one type of project. Because the file is well-organized and highly editable, you can repurpose it across various media. For instance:
- Social Media Graphics: Create eye-catching Facebook covers, YouTube channel art, or Twitter headers that stand out in a crowded feed.
- Marketing Materials: Design banner promotions, flyers, or placards that require bold, impactful headlines.
- Brand Identity: Use the effect for logo presentations or cartoon titles where depth and dimension add personality.
- Merchandise: Apply the design to T-shirt designs, clothing lines, or greeting cards. Since the file is high-resolution, it holds up well when scaled for print.
However, versatility comes with responsibility. Just because you can put 3D text on a business card doesn’t mean you should. In small formats, excessive 3D effects can become illegible. Always consider the context. Is the text readable at a glance? Does the depth distract from the message?
Quality Control: Resolution and Layer Organization
When evaluating a PSD file, two factors determine its long-term usability: resolution and organization. A high-quality 3D Special Text Effect PSD should be delivered in high resolution. If you plan to print your design on a large format poster, a low-res file will appear blurry and unprofessional. Check the dimensions before you begin. Most templates are set to standard web resolutions (72 DPI) or print resolutions (300 DPI). Ensure the file matches your end goal.
Furthermore, look at the layer structure. A well-organized file groups related elements—such as shadows, highlights, and base shapes—into folders. This makes it easier to tweak specific aspects of the effect. For example, if you want to make the shadow softer, you shouldn’t have to hunt through fifty individual layers. You should be able to adjust a single drop shadow layer within a grouped folder. If the file is messy, editing becomes a tedious trial-and-error process that eats up valuable time.
What to Expect in the Download
A complete package typically includes:
- 1 PSD File: The main editable source file.
- 1 Image File: A preview or flattened version for quick reference.
- Help File (Read Me.txt): Instructions on how to use the smart objects and any required fonts.
Always verify that all these components are present. Missing documentation can leave you guessing about how to achieve the final look.
Making the Right Choice for Your Project
Before committing to a specific 3D Special Text Effect PSD, take a moment to evaluate its fit for your needs. Ask yourself if the style aligns with your brand voice. Is it playful and cartoonish, or sleek and modern? Also, consider your technical skill level. While smart objects simplify the process, they still require a basic understanding of Photoshop. If you are a total beginner, look for templates with clear video tutorials or extensive written guides.
Another overlooked detail is font compatibility. Some 3D effects rely on specific font weights or styles to render correctly. If your chosen text is too thin or too complex, the 3D extrusion might look jagged or broken. Test different fonts within the smart object before finalizing your design. This small step can save you hours of tweaking.
Final Thoughts on Efficiency and Creativity
Using a 3D Special Text Effect PSD is about working smarter, not harder. It allows you to bypass the steep learning curve of manual 3D rendering while still achieving professional-grade results. By respecting the workflow—using smart objects correctly, checking resolutions, and organizing your layers—you ensure that your designs are both beautiful and functional.
Remember, the tool is only as good as the user. Don’t just copy-paste and hope for the best. Take the time to customize the colors, adjust the lighting, and refine the text placement. That personal touch is what transforms a generic template into a unique piece of art. Whether you are a freelancer looking to deliver projects faster or a hobbyist wanting to spice up your social media presence, this resource offers a solid foundation for creative success. Rate it, review it, and share your experiences to help others find quality resources too.